Inductrix FPVから始まってTiny7とTinywhoopの面白さにハマっています。Tiny7の改造から始まって気がつくと全て自分で選んだパーツの組み合わせで一台出来上がりました。いわゆる自作機ですが、パソコンの自作と同じで部品を組み合わせただけなので、どうも自分では自作と言いにくい。どんな物が出来上がったかパーツリストの覚え書き的に書いておきます。
[ 目標 ]
– ブザーを付ける。FPVで飛ばしていて墜落した時、芝生くらいなら大丈夫だけど、ブッシュに落とすと目視では見つからない。FPVの画像を頼りに探すのもかなり苦労します。Tinywhoopをそんなところで飛ばすなよということですが、林の中で木の間を飛ばすのが楽しいので仕方ない。
– 屋外飛行出来る力強さ。手持ちの820ブラシモーターがかなり強力なので、これを使うことにする。
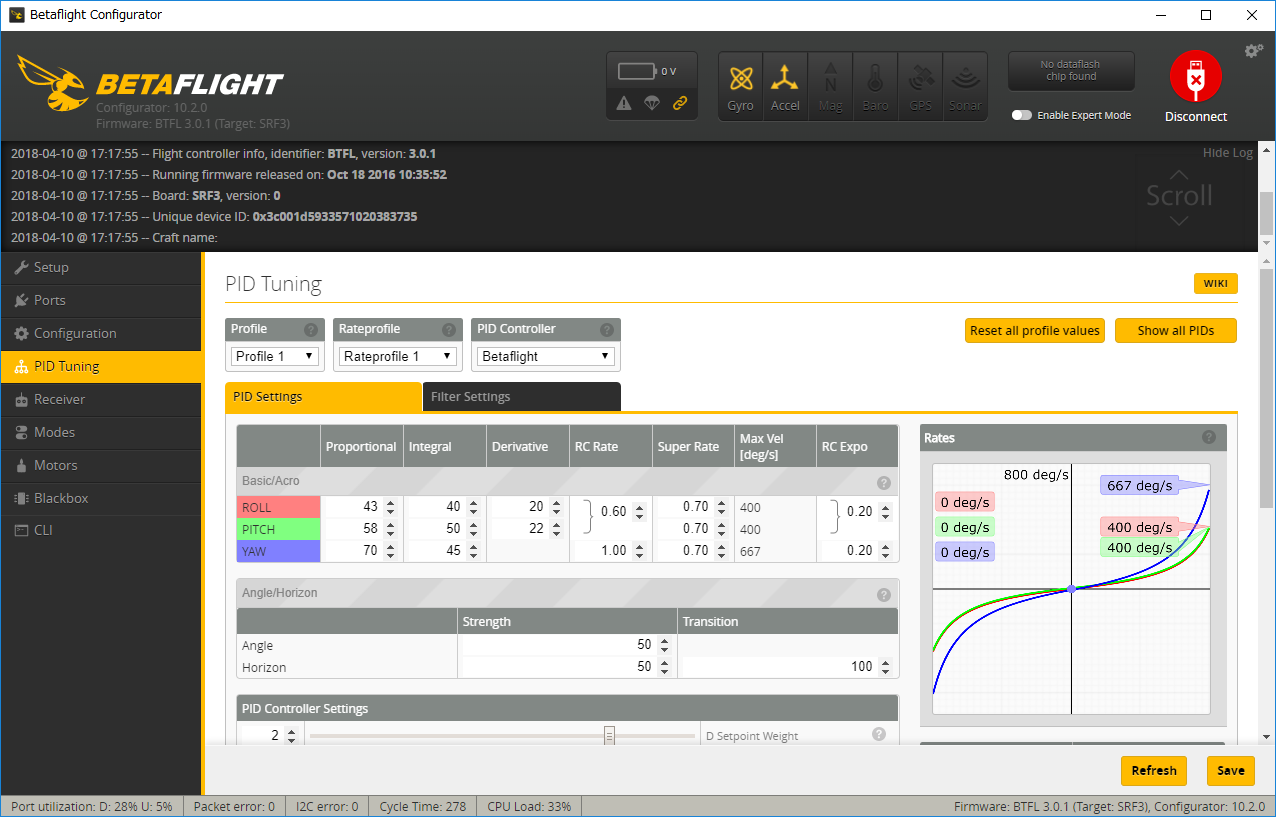
[ FC ]
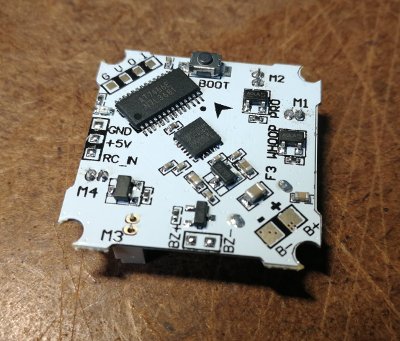
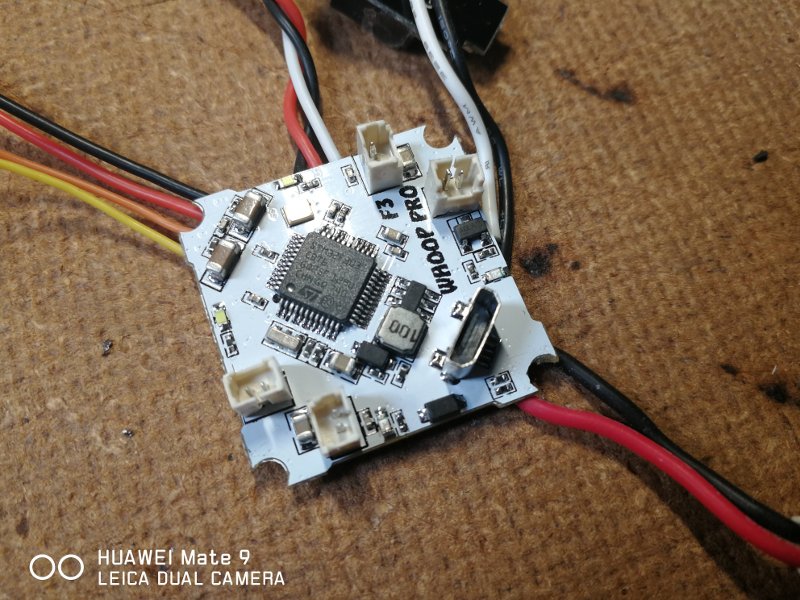
F3 Whoop Pro Brushed Flight Controllerという白い基板のFCを見つけたのが新しいTinywhoopを組むきっかけです。OSDとブザーのサポートがあります。OSD(On Screen Display)は飛行中に様々な情報をFPV画面で確認出来るものです。
[ フレーム ]
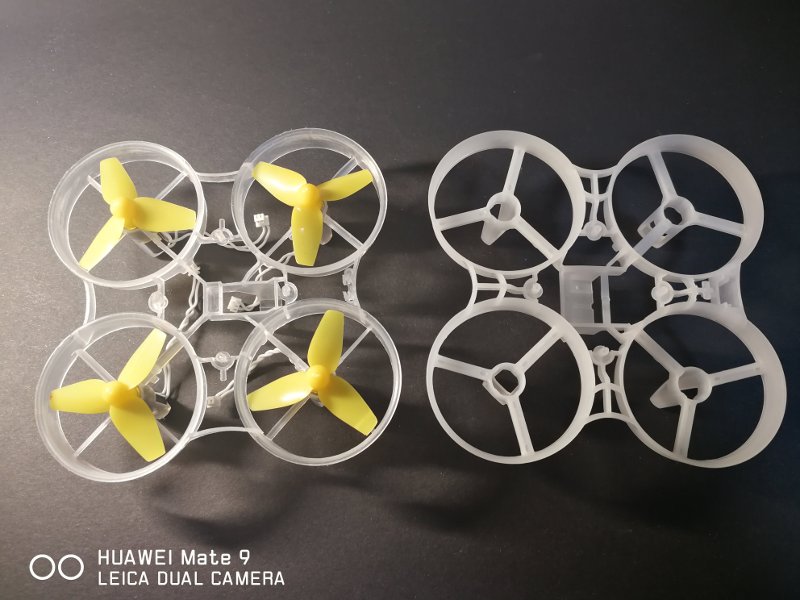
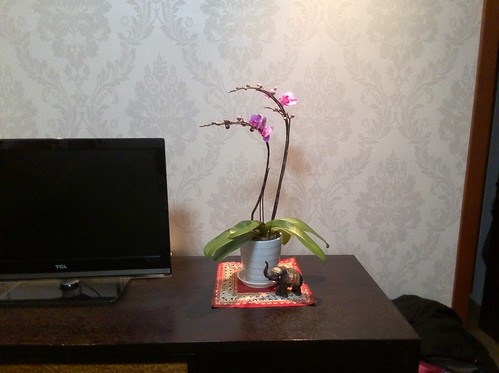
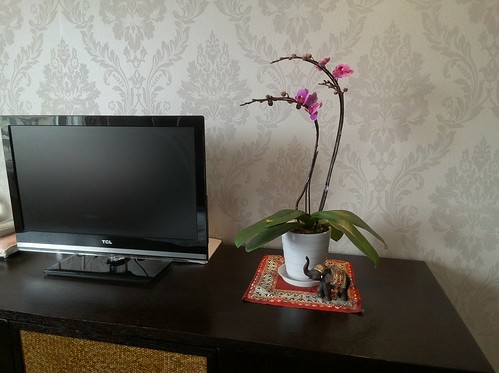
最初、左のInductrix FPV+のフレームを使いましたが、バッテリーのホールドがいまひとつなのとネジ穴が壊れたので右側のものに入れ替え。
[ モーター ]
Inductrix FPV+のフレームと一緒に購入した820ブラシモーター(直径8mm,長さ20mm)。細かい能力とかは不明。Tiny7のFCを載せてしばらく飛ばしていました。十分に力強くアクロも出来る。そのうち欲が出て8520とかになるかも知れない。あと効果のほどは、まだ良くわかりませんが4枚プロペラを付けています。
[ カメラとVTX ]
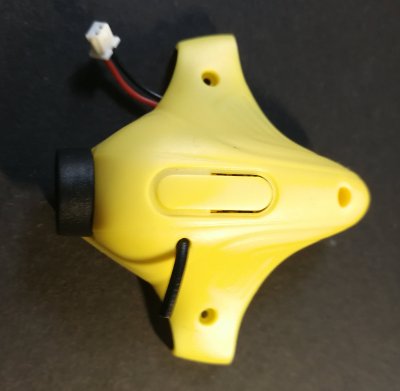
Inductrix FPV用の黄色いキャノピー、カメラ、VTXが一体になったもの。実際に入手したものが純正かどうか不明。キャノピーに何の印字もないので、ちょっと怪しい。製品自体は問題なく使用できた。
[ 受信機 ]
(注: このリンク先のブツは値段がおかしい)
手持ちの中で最軽量なDSMX Proというレシーバーを使用した。FCの都合で5V稼働可能であるところがミソ。1gに満たない小型レシーバーながら感度はとても良いです。

[ ブザー ]
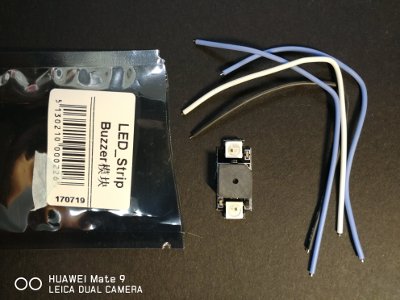
FCを買ったついでなので、その販売店に有ったLED付きのものにしました。LEDは使用しない予定。
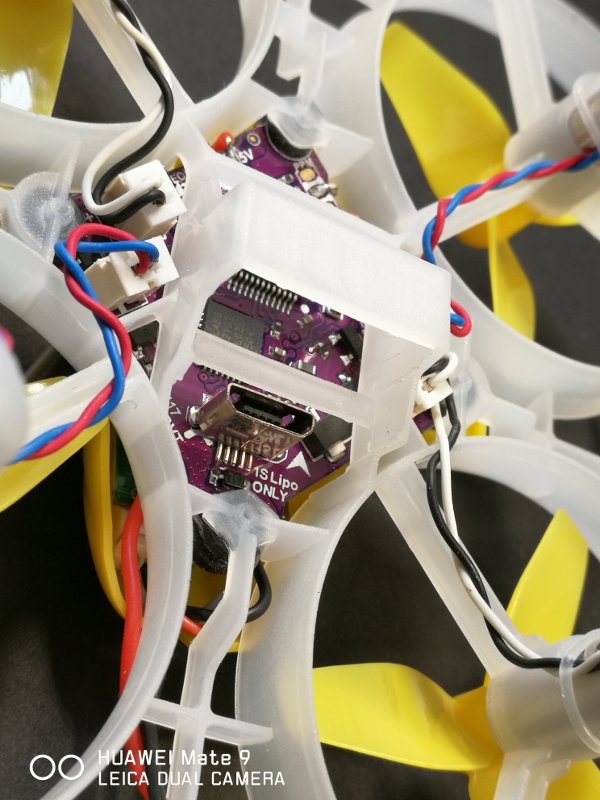
[ 配線 ]
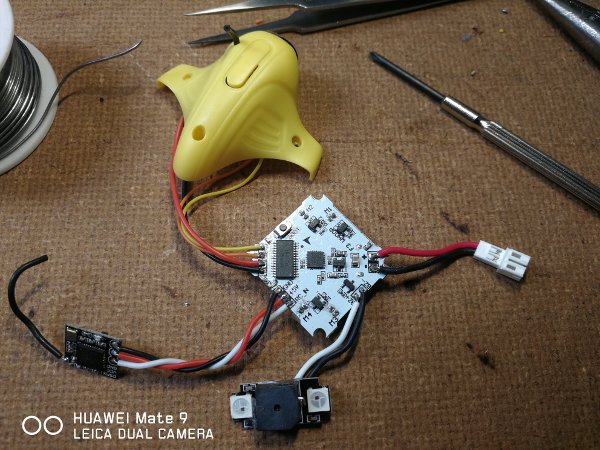
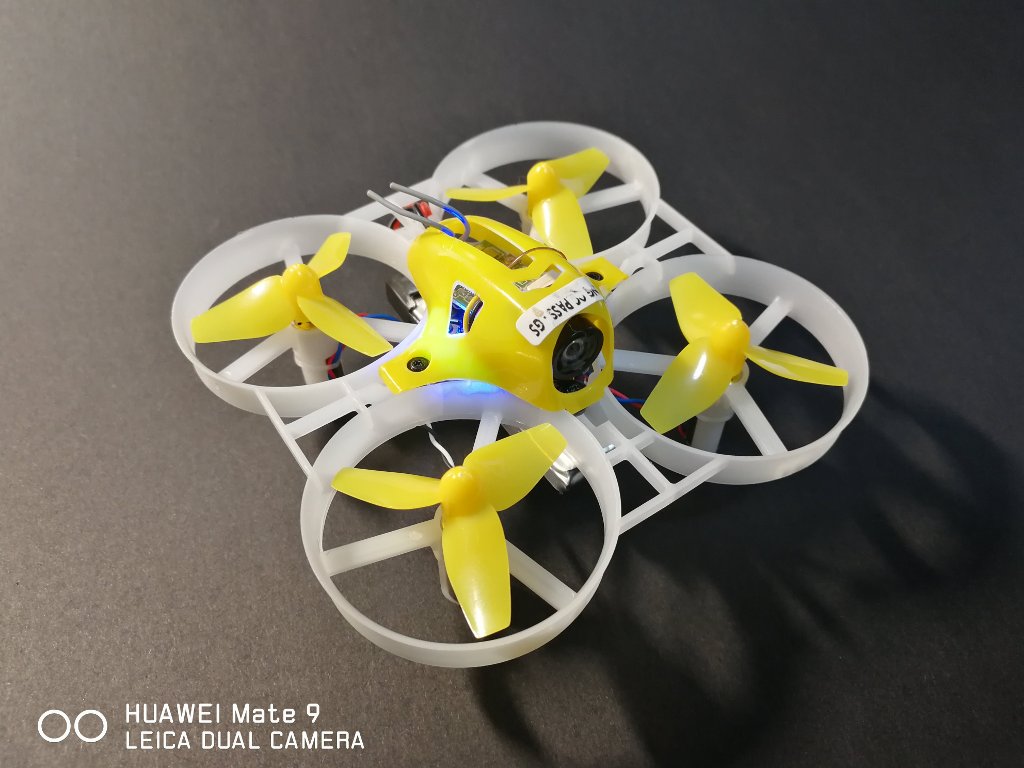
以上の部品を組み上げました。最初は長さの足りないリード線、OSDを使うために接続済みのカメラとVTXの間の映像信号を途中でカットして間にFCを入れる配線などツギハギしてシュリンクでカバーしたりしましたが、かさばるし信頼性が低くなるので新しいリード線で綺麗に配線し直しました。作業は細かいですが難しいところはありません。
[ 重量 ]
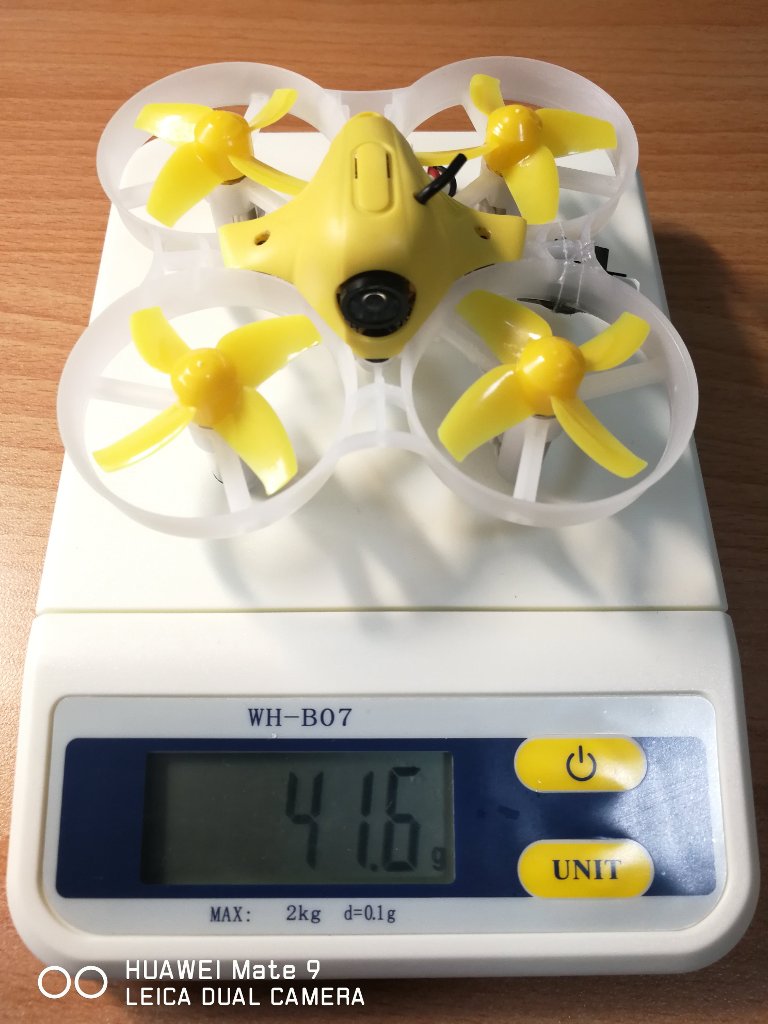
バッテリー無しで41.6gとTiny7より10g近く重くなりました。モーターとプロペラによる重量増加が大きいです。力強いので重量増加をカバー出来ていますが、バッテリーの消耗も激しく3分弱しか飛ばせません。Tiny7と使い分けということで割り切っていますが、性能の良いバッテリーを探してみることにします。